

close
Choose Your Site
Global
Social Media


Views: 0 Author: Site Editor Publish Time: 2026-09-06 Origin: Site


A truck cab refusing to cool down during peak summer heat is a serious operational issue. The situation becomes intensely uncomfortable under heavy towing loads. When temperatures rise inside the cabin, driver fatigue sets in quickly. Diagnosing climate control issues can easily become an expensive guessing game if you lack a systematic approach. Pinpointing the exact failure point is critical before you start buying replacement parts.
The truck AC condenser acts as the primary heat exchanger for your vehicle. This vital component sits right at the front of the truck. Its forward-facing position makes it highly susceptible to wear from constant environmental exposure. This guide provides an evidence-based framework to help you identify component failure. We will show you how to isolate it from compressor issues accurately. You will also learn how to make an informed decision on replacement, ensuring reliable cooling for long hauls.
Visual evidence is primary: Oil stains, road debris damage, and bent fins on the front grille are the most common early indicators of a failing truck AC condenser.
Flushing is rarely viable: Modern parallel-flow condensers used in most trucks trap metal shards; if your compressor fails, the condenser almost always requires replacement, not just a flush.
Pressure testing confirms the diagnosis: High-side pressure readings using a manifold gauge will definitively separate condenser blockages from general refrigerant leaks.
Replacement protects the system: Running a compromised AC condenser forces the compressor to overwork, risking total system failure.
When your climate control fails, you must identify physical versus systemic symptoms. Recognizing these early signs saves you valuable time. Early diagnosis also prevents further collateral damage to other expensive engine components.
Restricted airflow severely limits the system from releasing accumulated heat. Internal blockages trap hot refrigerant gas inside the aluminum coils. If the gas cannot condense into a high-pressure liquid, you will feel lukewarm air blowing from the vents. You might notice the cooling works decently at highway speeds. However, it completely fails while the engine idles. This specific symptom usually indicates an airflow restriction. It could mean you have a broken cooling fan or a mild debris blockage across the fins. Ram air from highway driving temporarily compensates for the underlying issue.
Refrigerant evaporates instantly when it escapes the system into the ambient air. However, the system oil it carries does not evaporate. You should look closely at the front grille area. Inspect the aluminum fins for dark, greasy patches. Dirt clings tightly to these oily areas, making them look like thick black smudges. You should also check the inlet and outlet fittings. Leaking O-rings or cracked aluminum welds often show prominent oil stains around the connection points.
The condenser sits directly in front of your truck radiator. They share the exact same cooling airflow path. A severely clogged unit restricts ambient airflow from reaching the radiator behind it. If mud, bugs, or road debris plug the front fins, engine coolant temperatures will steadily creep up. You will notice this overheating mostly during idle or low-speed crawling. The restricted air simply cannot cool the engine block adequately.
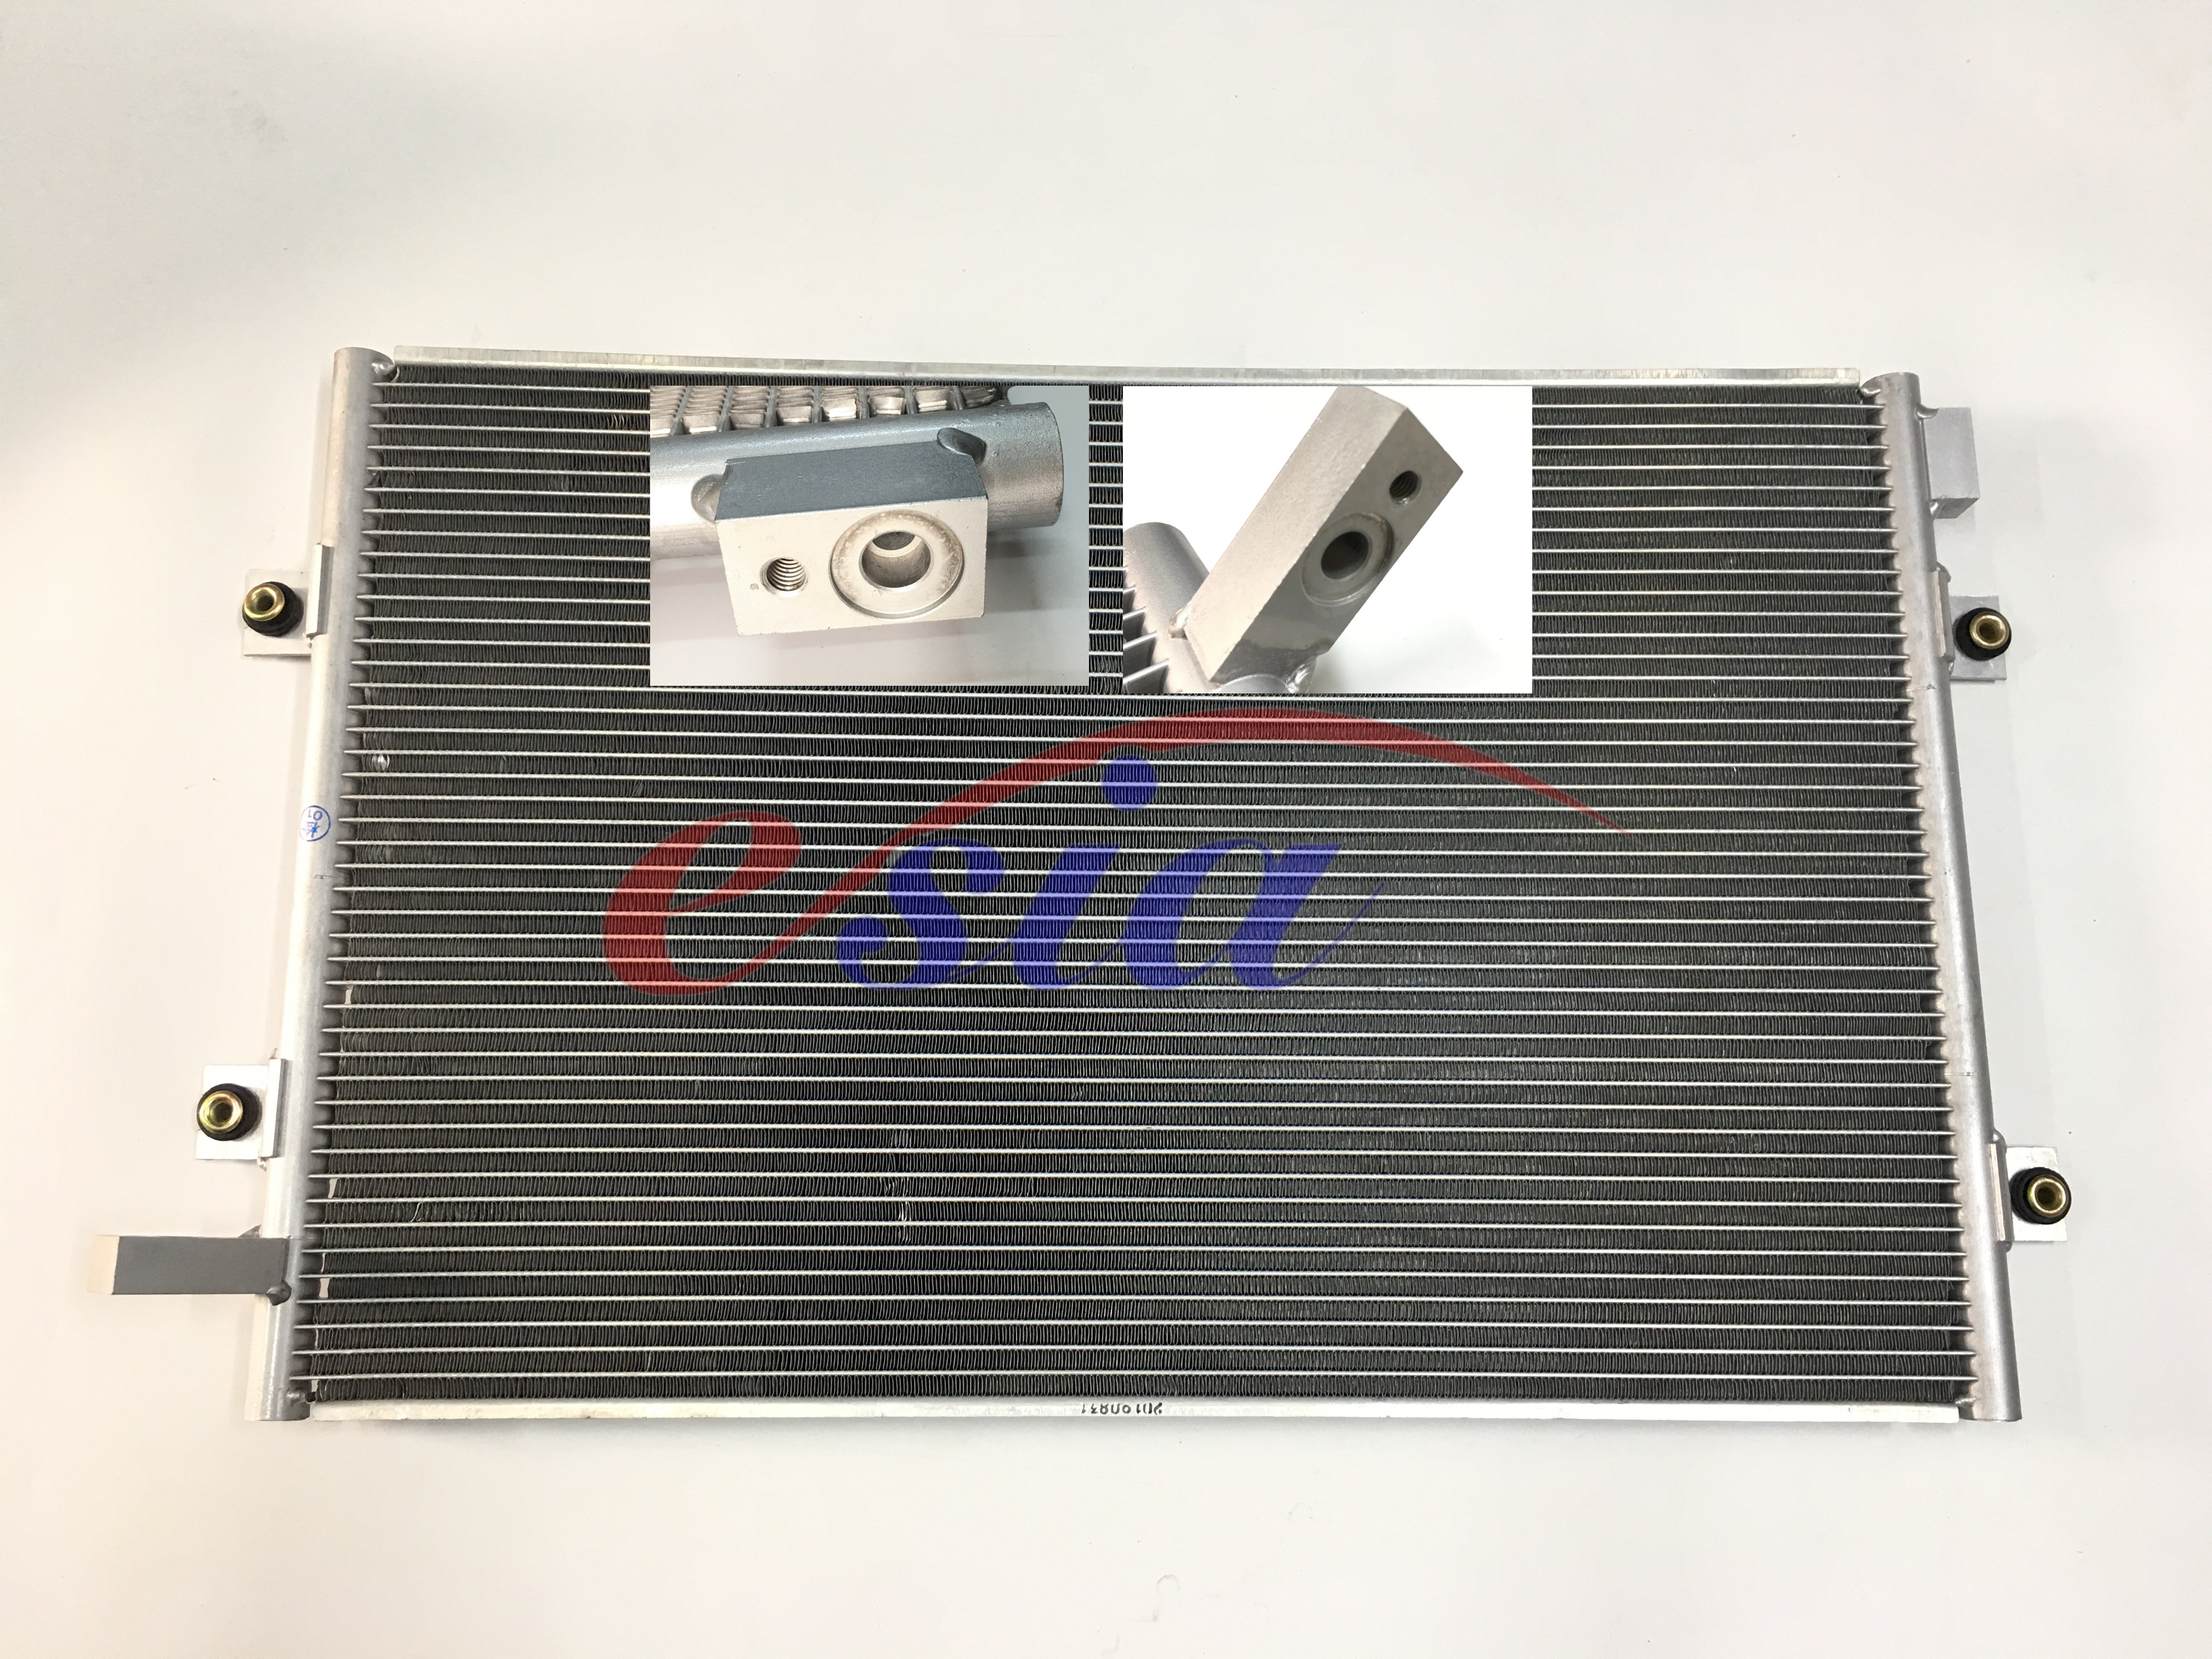
Diagnostic confusion often happens when assessing the compressor and the heat exchanging units. These two components rely heavily on each other to function. When one part fails, it often takes the other component down too.
The compressor pumps hot, high-pressure gas forward. If the front unit is blocked, internal system pressure skyrockets. This immense pressure forces the compressor to overwork constantly. The compressor will eventually overheat, burn out its internal seals, and destroy itself.
You can identify compressor issues through specific audible and physical signs. Listen for loud grinding or squealing noises when the magnetic clutch engages. Check if the clutch is entirely seized and refuses to spin. When you open the lines for inspection, look for metal shavings in the orifice tube. These shiny shavings indicate catastrophic internal wear.
Failures here are usually silent. You will mostly find external physical damage or notice high-side pressure spikes on your diagnostic gauges. Unrepaired AC condenser leaks slowly drop the total refrigerant volume. Low refrigerant starves the compressor of crucial lubricating oil.
Industry professionals refer to catastrophic compressor failure as the "Black Death." If the compressor internally shatters, it pumps a dark mixture of burnt oil and sharp metal debris forward. This toxic debris shoots directly into the micro-channels. Replacing a destroyed compressor without replacing the front heat exchanger guarantees another failure. The trapped metal shards will eventually break loose. They will travel back into your brand-new compressor and destroy it almost immediately.
Symptom / Characteristic | Compressor Issue | Condenser Issue |
|---|---|---|
Audible Noise | Loud grinding, squealing, or clunking. | Usually silent; no moving internal parts. |
Visual Signs | Seized clutch, metal shavings in lines. | External oil stains, bent fins, bug buildup. |
Pressure Gauge Reading | Low high-side pressure, high low-side pressure. | Abnormally high high-side pressure. |
Evaluating the system requires safe evaluation criteria and a firm understanding of implementation realities. Follow these logical steps to isolate the problem.
Start your diagnosis outside the vehicle. Grab a strong flashlight and inspect the front end thoroughly.
Inspect the front face for deep rock strikes and severe bug buildup.
Look for crushed or bent aluminum fins. Highway driving and off-roading cause constant physical impacts.
Check the cooling fan operation. Ensure it spins freely without any harsh bearing noise.
Gently straighten slightly bent fins using a dedicated fin comb. Never use a flathead screwdriver.
Finding microscopic leaks in aluminum tubes or factory welds is notoriously difficult. We highly recommend using an automotive UV dye kit. Inject the special dye into the low-side service port. Run the climate control system for fifteen minutes. Put on UV-enhancing glasses and shine the included blacklight over the entire unit. Leaks will glow bright neon yellow or green. Check all connection seams carefully.
This step requires precision and proper safety gear. Connect a standard manifold gauge set to the high and low service ports.
Start the truck engine and turn the climate control to maximum cold.
Read the baseline pressures on both the red and blue gauges.
Normal high-side readings usually hover between 150 and 250 PSI, depending heavily on ambient air temperature.
If you see abnormally high pressure on the high side (over 300 PSI) coupled with poor cooling, suspect a severe problem. This data strongly indicates an internal restriction.
Always remember strict EPA Section 609 regulations regarding vehicle refrigerants. Illegal venting of refrigerant gas into the atmosphere carries heavy federal fines. Recovery must happen using proper extraction machinery before removing any parts. Take your truck to a certified mechanic to recover the gas safely.
Making the right choice requires a clear analysis of potential outcomes. You must weigh the immediate costs against long-term reliability.
Some drivers attempt to patch leaks to save cash. Applying epoxy putty or using a welding torch on a high-pressure aluminum unit is a terrible idea. The system operates under extreme pressure and constant road vibration. These temporary patches are highly unreliable. They usually blow out within a few weeks, leaving you stranded without cooling again.
Older trucks used traditional tube-and-fin designs. You could successfully flush chemical solvents through them to remove debris. However, modern trucks exclusively use parallel-flow designs. Parallel-flow units feature dozens of microscopic internal channels stacked together. When a restriction occurs in a parallel-flow system, the flushing fluid simply takes the path of least resistance. It bypasses the blocked micro-channels entirely. The toxic blockage remains trapped inside. If a modern truck unit is clogged internally, outright replacement remains the only viable option.
We must break down the basic economics of the repair. The cost of a brand new replacement part is generally much lower than the cost of doing the job twice. If a chemical flush fails, you lose the money spent on labor. You also lose the expensive refrigerant used for the initial recharge. You then have to buy the new part anyway. Skip the risky flushing attempt entirely and replace the unit.
Shortlisting the right vendor and evaluating part quality determines your long-term success. Not all aftermarket parts offer the same durability.
You should carefully evaluate the trade-offs between OEM and aftermarket options. OEM guarantees perfect fitment right out of the box. However, premium aftermarket brands often re-engineer known OEM flaws. For example, some aftermarket manufacturers use thicker aluminum cores specifically designed for heavy-duty commercial trucks. They offer vastly better durability against harsh road vibrations.
Pay close attention to fin density. We measure this metric in fins per inch (FPI). Cheaper replacements often use fewer fins per inch to cut manufacturing costs. A lower FPI drastically reduces cooling efficiency. This reduced capacity becomes painfully obvious under heavy towing loads or during prolonged engine idling. Ensure your replacement matches or exceeds the original factory FPI count.
Modern commercial vehicle designs often combine multiple fluid systems into one large assembly. Remind yourself to check if your specific truck model requires integrated features. Many front units feature an integrated transmission cooler built into the top or bottom rows. Others have an integrated receiver and drier module bolted to the side bracket. Ordering the correct complete assembly prevents installation delays.
Pinpointing climate control failures does not have to be a frustrating process. You can effectively isolate the exact problem by following a logical, step-by-step approach.
Start with a thorough visual check to spot physical damage, bug buildup, or greasy oil stains.
Perform a pressure check using a manifold gauge to identify dangerous internal blockages.
Always evaluate compressor health to avoid repeating the catastrophic "Black Death" failure cycle.
Replace the parallel-flow unit outright instead of wasting money on ineffective chemical flushing attempts.
You must view this component as a standard wear item. Trucks exposed to constant road debris will inevitably suffer fin damage over time. Verify your exact truck year, make, and model today. Source a heavy-duty replacement part built to handle rigorous commercial conditions. If you lack the required equipment to recover the refrigerant legally, take your diagnostic findings to a certified mechanic. They can handle the recovery process safely before you begin your wrenching work.
A: Yes, you can drive the truck, but you must keep the climate control system turned off completely. Running the system with a blocked or leaking unit forces the compressor to overwork. This will quickly destroy the compressor. Additionally, you should watch your engine temperatures carefully if the exterior fins are blocked by mud or debris, as this restricts vital radiator airflow.
A: Replacement costs vary based on your specific truck model. The standalone replacement part typically ranges from $150 to $300. If you include professional labor, system vacuum testing, and a full refrigerant recharge, the total bill usually lands between $400 and $800. Heavy-duty commercial vehicles might fall on the higher end.
A: The physical replacement usually requires two to four hours of active labor. The front grille, bumper assembly, and sometimes the radiator require partial removal. DIY mechanics must also factor in a separate trip to an auto shop. You need professional refrigerant recovery before starting, and a proper vacuum test prior to refilling.


