

close
Choose Your Site
Global
Social Media


Views: 0 Author: Site Editor Publish Time: 2026-10-01 Origin: Site


Ordering the wrong cooling components creates massive headaches for vehicle owners and mechanics alike. Incorrect parts lead to expensive return shipping fees, delayed repair schedules, and stranded vehicles. Furthermore, frustrated technicians will often refuse the installation if a part does not match perfectly. You might assume selecting your car’s year, make, and model from a website menu is enough. However, standard drop-down menus are rarely sufficient in modern automotive manufacturing.
Mid-year production shifts frequently alter component designs without warning. Automakers also use specific trim-level cooling packages. A heavy-duty tow package might require a vastly different cooling setup than a standard base model. Relying on basic vehicle data often results in ordering a mismatched component. You need a foolproof system to avoid these costly errors.
This guide introduces a definitive three-point verification framework. You will learn exactly how to verify the original equipment identifier, cross-reference vehicle specifics, and measure core dimensions. Following this method guarantees a flawless, first-time fit for your replacement cooling system.
Relying solely on vehicle model data yields a high error rate due to mid-year production changes and varying trim levels.
The AC condenser OE number is the most authoritative identifier, but superseded part numbers require secondary validation.
Physical core size measurements (height, width, depth) dictate not only physical fitment but also refrigerant capacity and cooling efficiency.
Evaluating aftermarket vs. OEM replacements requires assessing fitment tolerances, mounting bracket alignment, and material thickness.
Many buyers incorrectly assume all vehicles of a specific year and model share identical parts. This assumption causes countless fitment failures. Automakers build cars in various sub-models to satisfy different consumer needs. These sub-models often feature unique cooling demands. For example, a vehicle equipped with a factory tow package generates more engine heat. It requires a larger AC condenser to maintain optimal cabin temperatures under heavy loads. Dual-climate control systems also impact component sizing. These advanced systems demand higher refrigerant flow rates. Standard fitment databases rarely account for these nuanced factory upgrades. They simply list a generic part that fits the base model.
Automotive manufacturing is a fluid process. Assembly lines do not stay stagnant for an entire model year. Automakers frequently switch component suppliers mid-production cycle. They do this to reduce costs or resolve early engineering flaws. This practice creates overlapping part designs within the exact same model year. A truck built in February might use a completely different cooling unit than the same truck built in August. If you only use a drop-down menu, you risk ordering the early-year design for a late-year vehicle.
Incorrect parts carry severe financial and logistical penalties. You face steep restocking fees when returning large automotive parts. Return shipping costs for bulky items eat into your repair budget. Beyond direct part costs, you must consider extended vehicle downtime. A disassembled car occupying a mechanic’s lift costs the shop money. Many repair facilities charge daily storage fees if they have to wait for you to source the correct replacement. Mechanics also charge labor rates for aborted installations. They still expect payment for the time spent tearing down the front end, even if the new part fails to fit.
You must abandon guesswork to eliminate these risks. A tri-fold validation process is absolutely necessary. You must verify the Original Equipment (OE) number first. Next, you filter that data using the exact Vehicle Identification Number (VIN) and specific trim details. Finally, you confirm physical core dimensions before completing a purchase. This multi-step framework acts as a fail-safe against bad catalog data.
Your search begins under the hood. You must locate the stamped or stickered Original Equipment number on your existing unit. Manufacturers typically place this identifier in a few common locations. Check the top aluminum header plate first. Many brands stamp the digits directly into the metal here. If you do not see it, inspect the side channels. Some suppliers apply heavy-duty thermal stickers along the vertical edges. Finally, check near the receiver drier if your unit features an integrated design. Keep in mind engine heat and road debris often degrade paper stickers. You might need a flashlight and a wire brush to reveal stamped numbers hidden under road grime.
Every automaker uses a distinct formatting logic for their part numbers. Ford generally uses a three-part alphanumeric sequence. General Motors often relies on straight eight-digit codes. You must understand how to read these formats properly. The main sequence represents the core part design. However, you will often find engineering revision letters at the end of the sequence. For instance, a part ending in "A" represents the first production run. A part ending in "B" or "C" indicates the manufacturer updated the design. You must record the entire sequence, including these revision letters, to ensure accurate matching.
Automakers discontinue parts frequently. When engineers discover a flaw, they release a redesigned component. They assign this new part a manufacturer-updated sequence. We call this a superseded part number. Your original AC condenser OE number might no longer exist in current catalogs. When you search your old number, a dealership system will automatically redirect you to the superseded number. You must accept this updated sequence. It represents the safest, most current factory replacement available for your vehicle.
The internet offers hundreds of third-party cross-reference databases. Buyers frequently trust these websites blindly. This is a massive mistake. Independent databases rely on scraped catalog data. They often contain critical errors regarding fitment crossovers. A database might claim an aftermarket part replaces your specific OE number. However, it might ignore slight bracket variations. You should use these databases as a starting point only. Never buy a part based solely on a third-party website claim without verifying the physical vehicle application yourself.
The standard Make/Model/Year selection method is fundamentally flawed. You should use the Vehicle Identification Number (VIN) instead. Your VIN acts as the vehicle’s specific DNA sequence. A standard 17-digit VIN captures the exact factory build sheet. Dealership parts software uses the VIN to filter out all incompatible parts. It looks at the specific assembly plant, production date, and trim package. This method easily identifies exact factory cooling configurations. It bypasses the confusion caused by mid-year supplier changes completely.
Engine displacement dictates front-end space and heat generation. A compact 2.0L four-cylinder engine leaves plenty of room behind the grille. A massive 3.5L V6 engine pushes all components forward. This dictates entirely different condenser dimensions. Furthermore, transmission types matter immensely. Automatic transmissions generate significant fluid heat. Many automatic vehicles route transmission fluid through the front cooling stack. You must know your exact engine and transmission combination to ensure the mounting brackets align correctly.
Modern automotive engineering favors component integration. Engineers combine multiple systems into single units to save space and assembly time. You must check if your specific vehicle model requires an integrated setup. Many modern units feature a built-in receiver drier bolted directly to the side channel. Others incorporate a dedicated transmission cooler into the bottom rows of the finned area. If you buy a standalone unit for a car that requires an integrated unit, you will have nowhere to connect your transmission lines.
Commercial operators face even stricter requirements. Fleet managers overhaul complex HVAC systems regularly. Heavy-duty trucks often utilize custom upfitter packages. A delivery step-van might use a different cooling stack than a standard box truck, despite sharing the same chassis. Verifying the exact vehicle build sheet prevents severe compliance issues. Using an undersized AC condenser on a commercial truck can void factory warranties. It also causes the compressor to overheat during long idle periods. Commercial buyers must cross-reference their exact VINs to maintain fleet reliability.
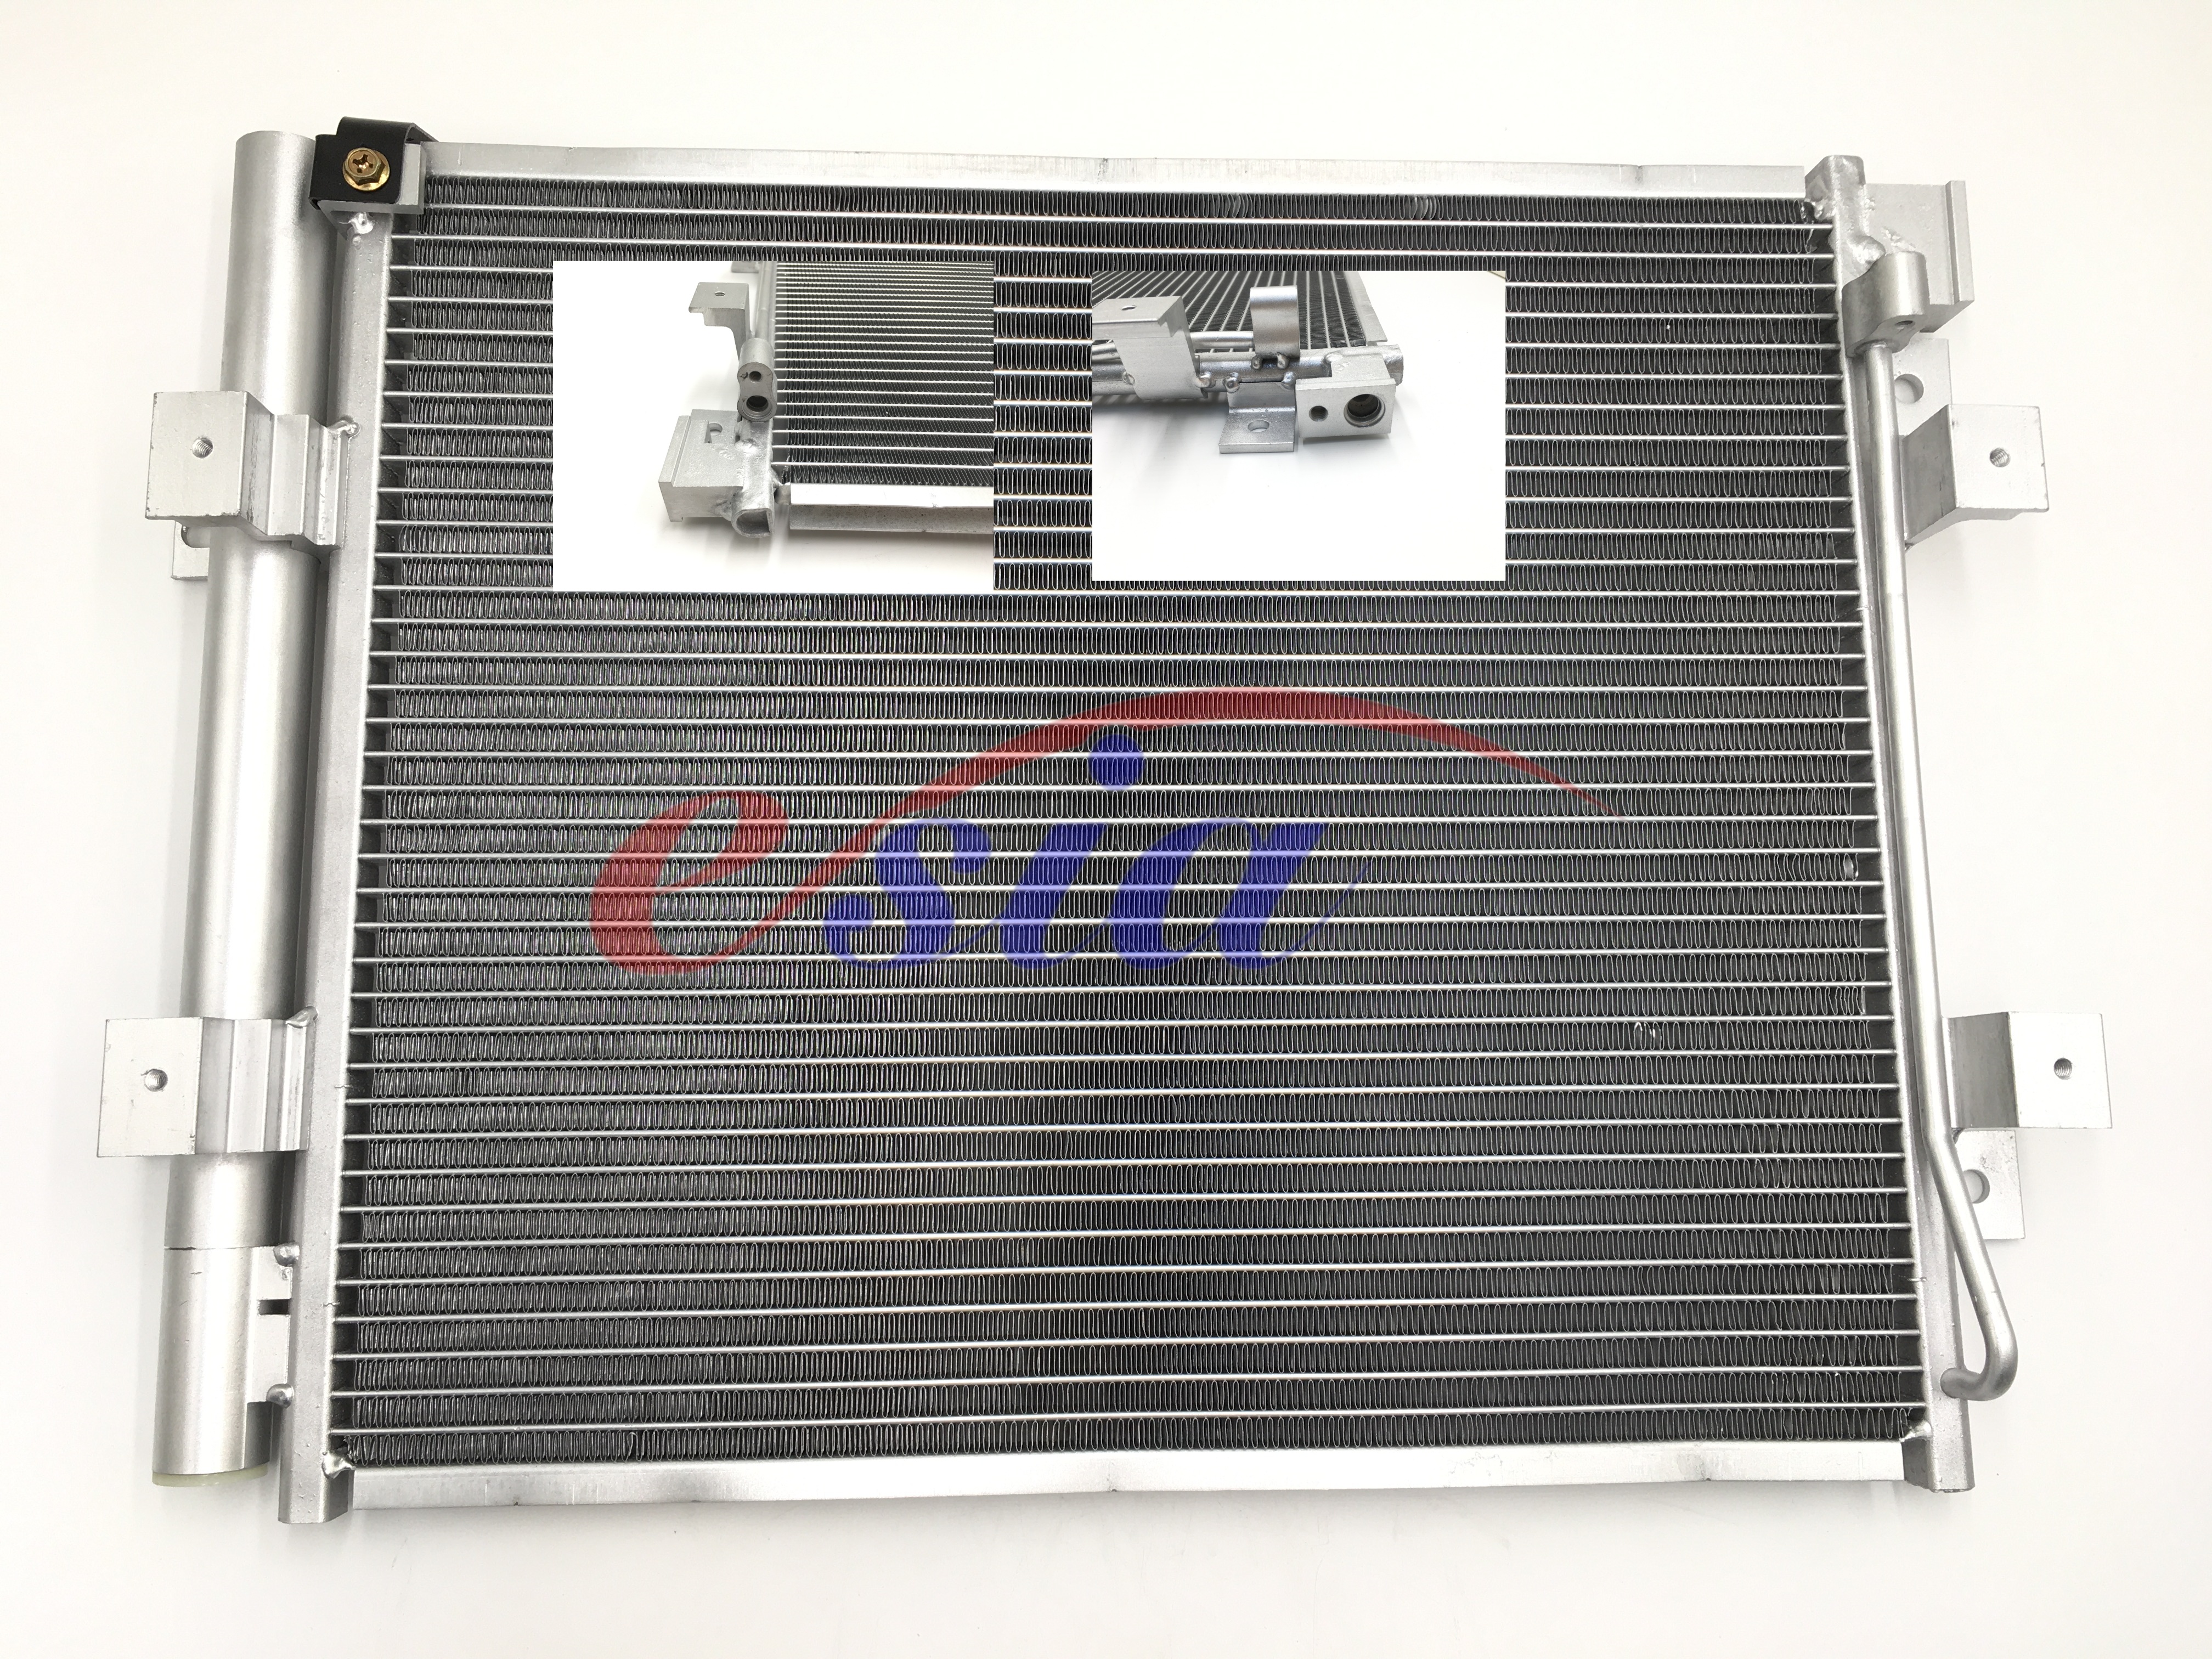
You must understand the critical difference between core dimensions and overall dimensions. Many buyers measure the entire unit from edge to edge. This is incorrect. The overall dimension includes the side tanks, mounting brackets, and inlet tubes. The core dimension only measures the finned aluminum area where heat exchange actually occurs. You need the core measurement to determine true cooling capacity. You need the overall measurement to determine physical chassis fitment. You must verify both, but the core size dictates system performance.
Proper measurement requires a standard protocol. Grab a reliable metal tape measure and follow these exact steps:
Measure Height: Place your tape measure on the inside edge of the top header plate. Pull it straight down to the inside edge of the bottom header plate. Do not include the top and bottom mounting rails.
Measure Width: Start at the inside edge of the left side tank. Measure straight across the aluminum fins to the inside edge of the right side tank.
Measure Depth: Lay the unit flat. Measure the thickness of the finned aluminum core block itself. Do not measure the thickness of the plastic or aluminum side tanks.
Core thickness represents a major trap for aftermarket buyers. Many budget aftermarket brands use thinner aluminum cores to save manufacturing costs. They might build a unit that measures 16mm thick to replace an OEM unit that measures 22mm thick. The mounting points will still align perfectly. The unit will bolt into the car easily. However, the reduced thickness drastically cuts down on refrigerant capacity. Your vehicle will suffer from poor cooling performance during hot summer traffic. Always verify the depth measurement to avoid this common downgrade.
Measurements go beyond the main aluminum block. You must verify the specific attachment points. Measure the exact distance between the bottom mounting pins. Compare this against your vehicle's lower radiator support grommets. Next, inspect the inlet and outlet ports. Verify the angle of the aluminum tubes. A slight 10-degree variation in port angle will prevent your refrigerant lines from seating properly. Check the diameter of the port openings as well. You cannot force a mismatched line fitting into an incorrect port without destroying the threads.
You face a major decision between Original Equipment Manufacturer (OEM) parts and aftermarket alternatives. OEM parts offer exact precision. Automakers demand strict dimensional tolerances from their factory suppliers. An OEM part guarantees a stress-free drop-in installation. Aftermarket brands sometimes engineer "universal fit" compromises. They elongate mounting holes to make one part fit three different vehicle models. This saves them inventory costs. However, it often requires you to bend brackets or force plastic shrouds during installation.
Internal engineering heavily impacts longevity. Older vehicles used serpentine designs. These feature a single, large tube winding back and forth through the fins. Modern vehicles use parallel flow designs. These push refrigerant through dozens of micro-extruded tubes simultaneously. Parallel flow offers vastly superior heat dissipation. However, the micro-tubes clog easily if a compressor fails. High-quality aftermarket and OEM units use premium, corrosion-resistant aluminum alloys. Cheap alternatives use porous alloys that corrode quickly in environments heavily treated with winter road salt.
You must weigh the risks and costs before buying. Sometimes the OEM premium makes sense. Other times, a certified aftermarket part works perfectly. We designed a decision matrix to help you navigate this choice safely.
OEM vs. Aftermarket Decision Matrix
Scenario | Recommended Choice | Reasoning |
|---|---|---|
Complex Integrated Setups | OEM | Ensures transmission cooler and drier match exact factory pressure tolerances. |
Fleet Reliability Needs | OEM | Maximizes uptime; maintains factory warranty compliance for commercial vehicles. |
Standard Passenger Vehicles | Certified Aftermarket | Cost-effective solution if physical measurements are verified against the original. |
Budget-Restricted Repairs | Certified Aftermarket | Saves money, but requires careful verification of core thickness and bracket fitment. |
Your responsibility does not end when the part arrives. A smart technician performs a final visual inspection before starting the job. Place the old unit and the new unit side-by-side on a clean workbench. Compare the core thickness immediately. Check the orientation of every single mounting bracket. Verify the port angles align perfectly. Do this before you break the vacuum seals on the new unit's ports. Once you remove the plastic sealing plugs, most suppliers will refuse a return. A five-minute physical verification saves you from eating the cost of a mismatched part.
Securing the right replacement part requires diligence and a methodical approach. You cannot rely on basic drop-down menus in a world of mid-year production shifts and complex trim packages. Use your factory equipment number as the definitive baseline. Filter that information using your vehicle's specific identification number to account for engine sizes and transmission types. Finally, confirm your choice by measuring the physical core dimensions manually.
Always physically verify your current unit before placing an order. Compare the finned core area, the thickness, and the bracket layouts carefully. Taking these precise steps eliminates the friction of the returns process. It keeps your vehicle out of the mechanic's bay and back on the road faster. Gather your vehicle's data, locate your stamped identifiers, and source your correct part with total confidence.
A: Yes. Aftermarket manufacturers consolidate part numbers. They engineer one unit to replace several different factory numbers if the dimensional differences are negligible. Additionally, automakers frequently release superseded part numbers when they update a design. Your old number might direct you to a newly assigned sequence.
A: Absolutely. A thinner core reduces the overall fin surface area and internal volume. This limits the unit's ability to dissipate heat rapidly. It also reduces total system refrigerant capacity. Even if a thinner unit bolts in perfectly, your cabin will struggle to stay cool during extreme summer heat.
A: If engine heat destroyed the paper sticker, check the top and bottom aluminum headers for stamped digits. If you cannot find any physical markings, call a dealership parts department. Provide them with your 17-digit VIN. They can pull up the exact factory build sheet and provide the correct number.
A: Yes, industry best practices require it. The receiver drier contains desiccant that absorbs harmful moisture. Once you open the system to the atmosphere, the desiccant becomes saturated and useless. Many modern replacement units include a new drier pre-installed to ensure warranty compliance and system longevity.


